Revit 2019: Essentials for MEP Engineers
Getting started with Revit can feel daunting. But, like anything new as you become more familiar with it you will start to see the benefits of the basic modifying tools

Getting started with Revit can feel daunting. It’s an unfamiliar program that may not work like your current software. But, like anything new as you become more familiar with it you will start to see the benefits of the basic modifying tools – Copy, Move, Align, Offset, Mirror, Array – as well as the special tools it offers like Systems, Analyze, and Collaborate all within a 3D environment.
Layers, often an irritation, don’t even need to be thought about in Revit. Revit will place every object in the correct layer. You do not need to switch Ortho on/off or change Snaps. Revit will show alignment lines, angles, snap points on the go.
If you are just starting out in Revit, here is some basics that you should know:
- Model: Revit creates a virtual 3D representation of the model with the established relationships between elements.You can create as many views as required by the project. Every view of the model is a live view of the parametric elements. If an element is moved in one view, the position of that element in all of the views is instantly updated. Therefore, changing the elements will change the model instantly and all changes will be reflected on each view and plot sheets.
- Model elements: All of the elements in Revit are Families and represent real objects. Families are grouped and sorted by category in the content libraries and in the Project Browser. The families, such as air terminals, plumbing fixtures, and mechanical equipment, are loaded into the template of the project or into the model from the Revit library or an external source. For example, from the manufacturer’s website or Autodesk Seek. All Families in Revit are parametric.
- Instance and Type properties: Model elements in Revit represent physical instances in a model. When placed in a model they are visible in all views.
- Type properties for the family are common for all types of the same family and contain information that applies to all instances of the same family type in the model. For example, type properties for an air terminal will be size – length x width. Changes made to type properties affect all instances of the family created from that type.Revit allows to change the family with a different type using the Type Selector. It is easy to create a new type within the family using the Duplicate function in the Type Properties dialog.
- Instance properties contain information related to a specific placed instance of the family element in the model. For example, instance properties for an Air Terminal will be Air Flow. Changes made to instance properties affect only that instance of the family.
- Annotation elements
Annotation elements are also families that are used to add dimensions, notes, and tags to a view.
The first Revit project can be a frustrating one. You will be learning the program while you are working on your project. Even if you had some training, you’ll quickly find that not everything will work like it did in your training sessions in a real project. All the elements are drawn to real size and you need to be attentive to clashes while working on your model.
There are some little things you’ll want to remember:
- Remember to place Air terminals or Electrical fixtures at the right elevation. Default for Air terminals is 0.000 and needs to be changed to match ceiling height. You also need to assign Flow to Air terminals.
- As soon as you start a layout of the ductwork, Flow will be calculated through the system. You do not need to insert fittings working on ductwork or piping layout, Revit will do that for you.
- Keep the section or 3D view of the area you are working on open. Don’t create sections just because you can; create one vertical and one horizontal, move them around as needed; create a new one when necessary and delete it once you are done.
- When you have placed MEP elements into a model, you can generate a duct or pipe layout manually, or Revit can generate it automatically from different layout solutions.
- A parameter that defines the system is the Connector that is located within model elements and has pre-defined classifications within Revit. If you cross two ducts or two pipes with the same system classification on the same elevation, Revit will join those systems by creating a fitting. If this is not what you intended, place the systems on different elevations.
- One Model element can have a number of different connectors with pre-set system classification, so elements can be assigned to a number of systems. A set of logically connected elements creates a system.
- All components and systems can be seen in the System Browser – a tool that displays a hierarchical list of all system components in each discipline in the model.
- Annotations are view-specific; they appear only in the view in which they were placed. Annotations can be copied from view to view, but any changes made to them in one view will not be transferred to any other views.
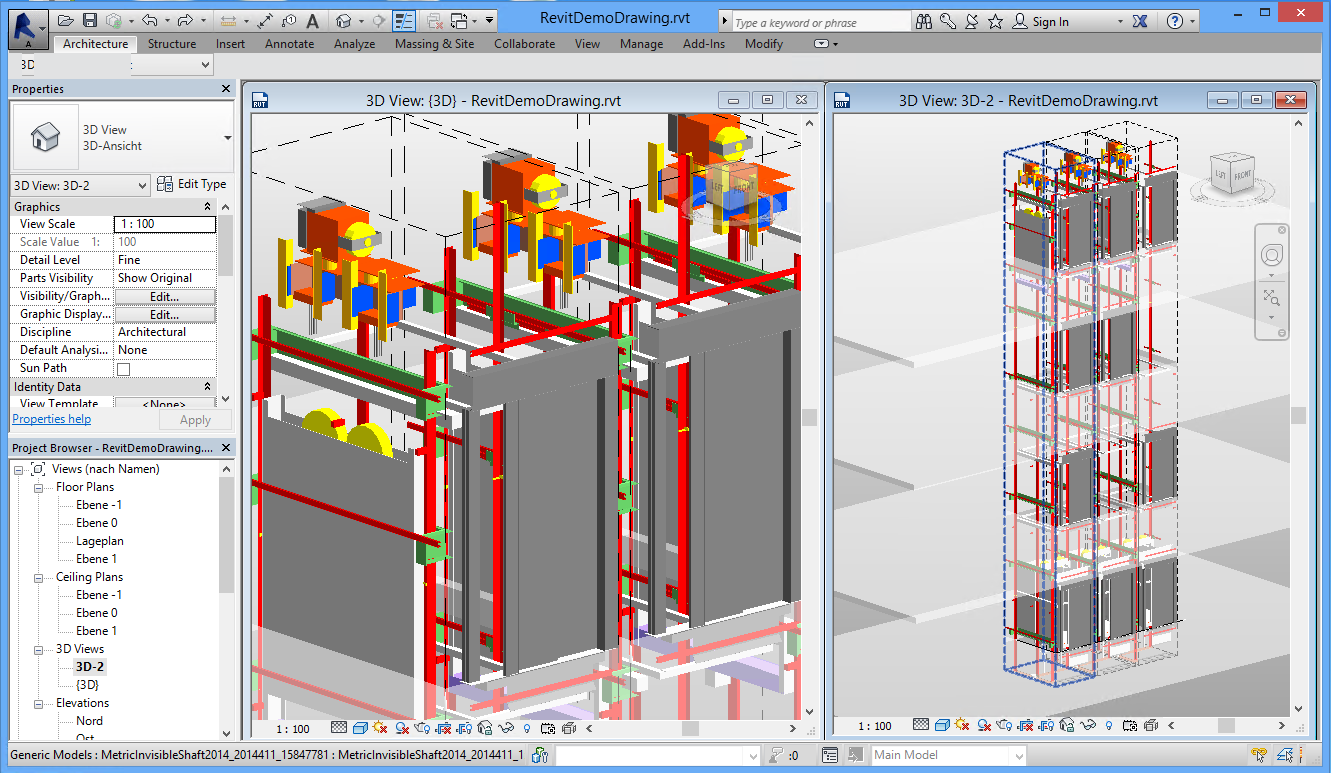
Now open Revit, select the System tool, drop some Air Terminals, place some ducts and now you can see the system you created in 3D. Wow! It looks impressive. But more impressive is the fact that you have not only created a system, and sized the ductwork with one click, you have also produced a section and a schedule which will be updated as you are working on the model. Revit has the ability to perform calculations such as pressure loss and static pressure, size ducts and pipes, and perform energy analysis on the design.
Contact us to find out more about Revit for MEP and how we can help you get the most from it.
Source: http://www.bimarc.co


